Art's Black Stone is a variation of the Kauffman Black Stone. Art Estus showed me a easier technique for tieing the wingcase. Instead of turkey sections he uses folded scud back. Art's Black Stonefly is exactly the same as Art's Golden Stonefly, the only difference being the black dubbing and brown oval tubing. The black stonefly is similar to the golden stonefly but bigger and as its name suggests black. This fly is heavily weighted so it makes a good point fly in a tandem fly rig.
Hook: MFC 7073 size 10-6
Thread: black 6/0
Weight: gold beadhead
Tail: black goose biots
Antennae: black goose biots
Body: black hares ear dub
Rib: medium brown
Wingcase: 1/4th in wide brown scud back
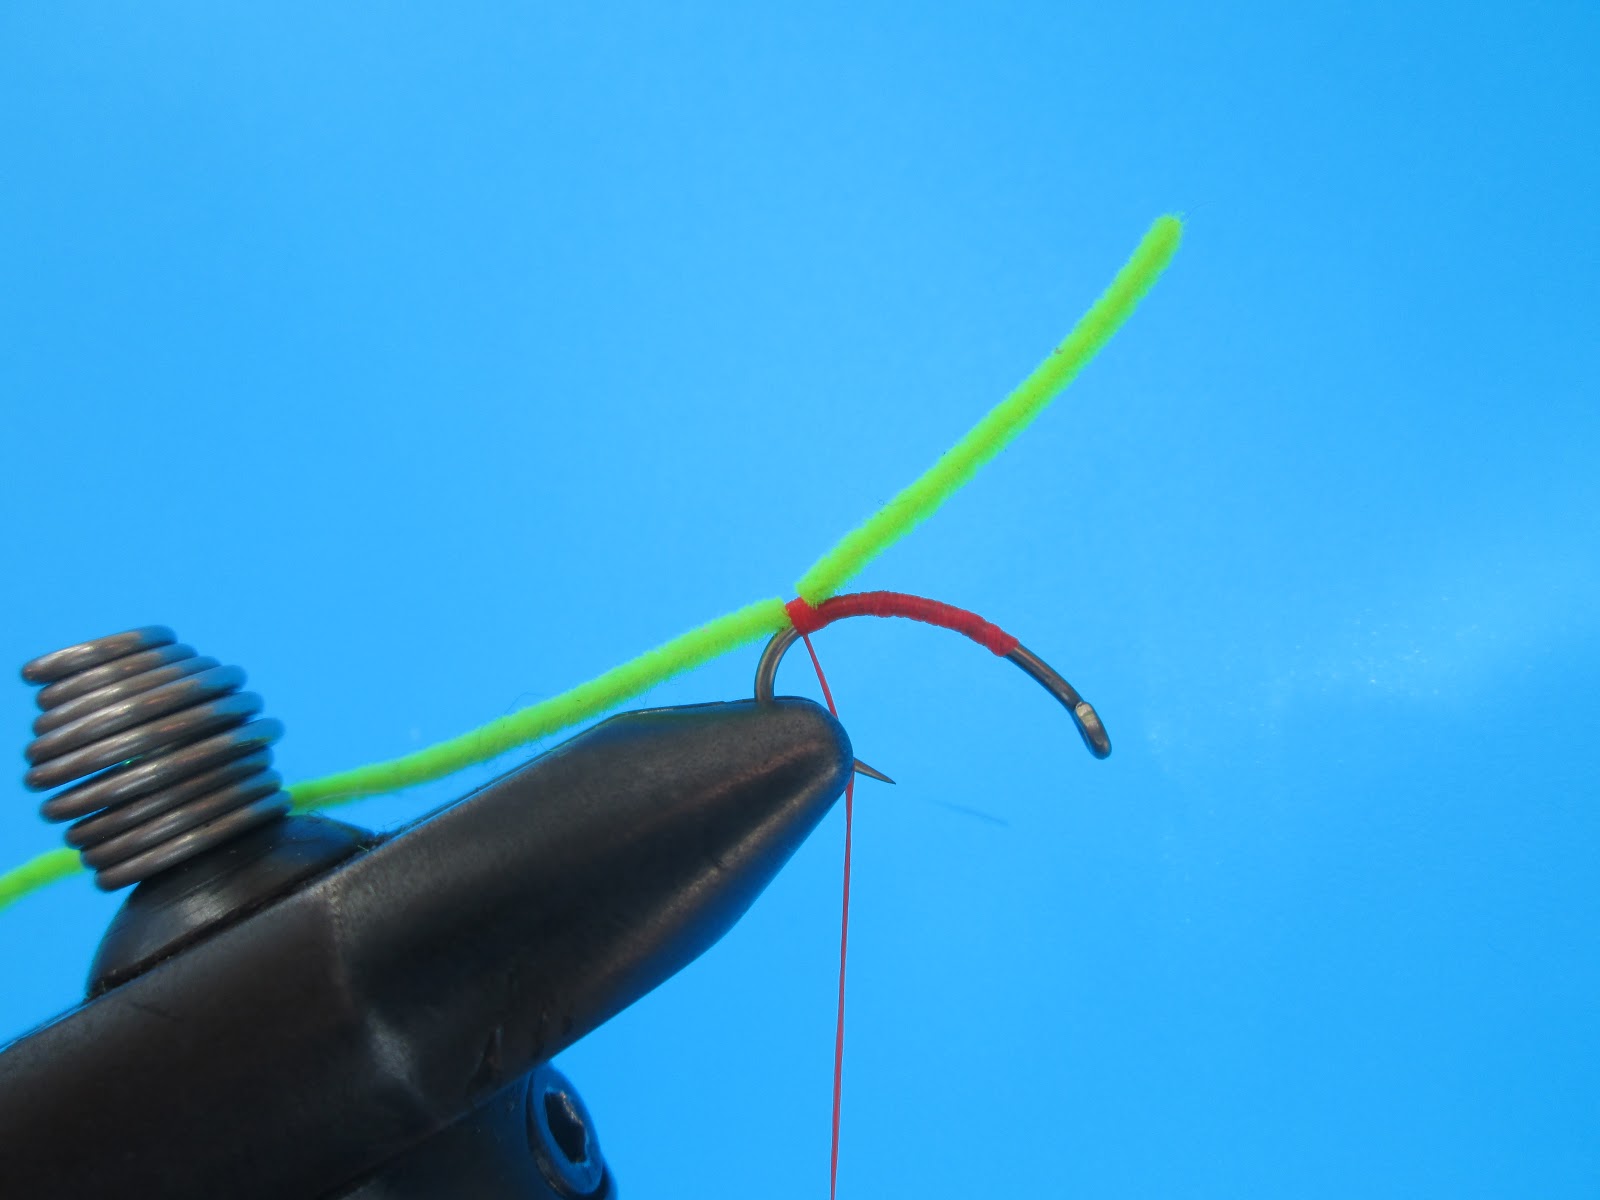
STEP 1: With a MFC 7073 size 6-10 in your vise, attach your thread near the eye. Take two black goose biots and tie them in for the antennae using the least amount as thread as possible. The biots should be about the length of half the hook shank. Whip finish and cut the thread. I like tie several fly antennae first then tie the bodies.
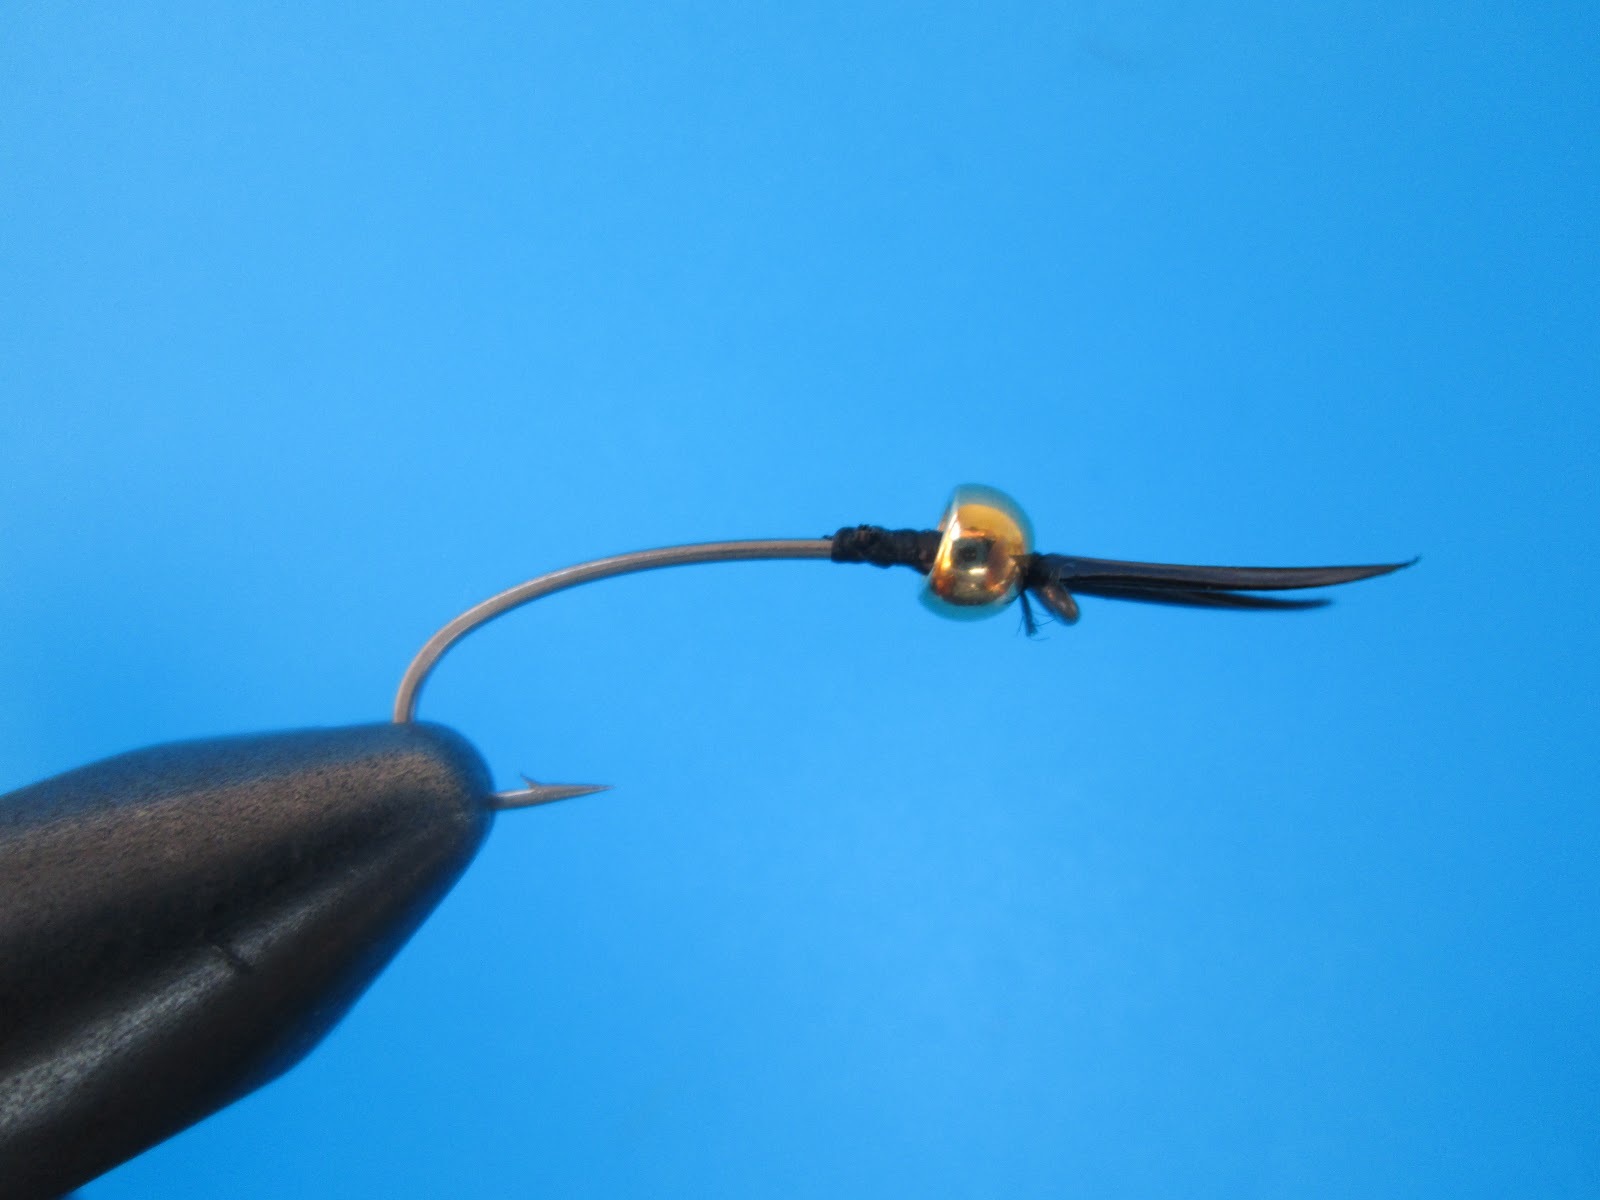
STEP 2: Slip a gold beadhead onto the hook and push the beadhead over the thread wraps and up to the hook eye. Take your yellow 6/0 thread attach it mid shank and wrap back to the tie in point.
STEP 3: Take another pair of black goose biots and tie them in as the tail, they should extend half the hook shank. Tie in a piece of medium brown oval tubing and bring your thread back to the tie in point.
STEP 4: Take a clump of black hares ear dubbing and dub a body so that the dubbing covers the entire first half of the hook shank. Take the oval tubing and rib the dub body. Trim off the tubing.
STEP 5: Tie in a piece of 1/4th wide brown scud back for the wing case. Fold over the scud back to form a loop. Secure with several wraps. Dub a small ball of black hares ear dub other the thread wraps.
STEP 6: Fold a another loop in the scud back to form the second wingcase. Tie down with several wraps of thread. Put some black hares ear dub into a dubbing loop. Make a spiky ball covering the thread wraps. This will imitate the stoneflys legs. At this point there is the optional step of adding black rubber legs to the fly.
STEP 7: Advance your thread to behind the hook eye. Form the third and final wingcase with the scud back. Secure the scud back withe several wraps of thread and trim off. Whip finish, cut your thread, and add a drop of head cement. The Black Stone is now finished.
 |
| The Finished Fly |
 |
| Large king salmon caught on a black stone. |
There you have it, a black stone fly pattern. This pattern really isn't as hard as it looks, just several steps. I tie this pattern commercially, its available from
autumnsirenflies.blogspot.com. If you have any questions please email me or leave a comment at the bottom of the page. If you would like to try a simpler stonefly pattern, try the
Estaz Stone.
Tyler Straight
Custom Tied Steelhead Flies
CKOF Website Design